Version Control
Version control, also referred to as revision control or source control (i.e., git), is an efficient way of managing changes to files over time. Managing files over time enables teams to collaborate freely because members can work on the same file at the same time and merge changes later. Version control and version control systems can be leveraged by anyone in an organization, from the development team to the software testing teams and even the product development/design team.
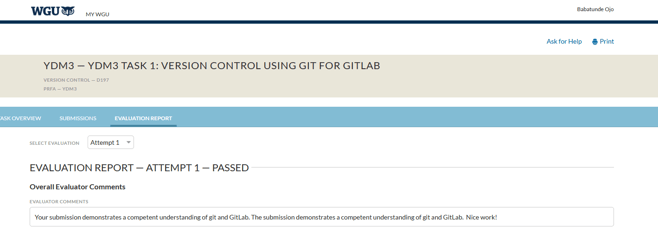
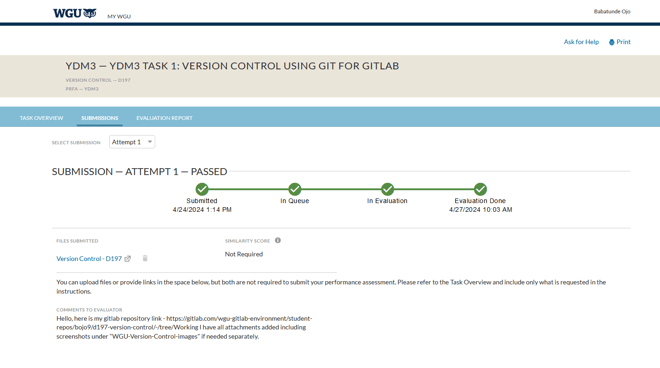
I recently worked on a project called version control, it can also be referred to as revision control or source control (i.e, git). This was done as a project in my WGU class, Version Control -D197. Version control is critical to maintaining software and enabling scalability solutions. Any programming project that requires multiple files can benefit from this best practice. Version control enables teams to have collaborative workflows while also enhancing the software development life cycle.
This project focuses on the version control system Git. If you are just getting started with Git, I suggest to watch this hour long video on LinkedIn learning for essential understanding - LinkedIn learning link.


Scenario
You have been hired as a consultant at a company. The company has a collection of files for its website that need modification to complete the project deliverables. However, the company's contract requires that all documents be saved to a source repository, and there are other consultants working concurrently. You have been asked to make upgrades to the website.
Requirements
Your submission must be your original work. No more than a combined total of 30% of the submission and no more than a 10% match to any one individual source can be directly quoted or closely paraphrased from sources, even if cited correctly. The similarity report that is provided when you submit your task can be used as a guide.
You must use the rubric to direct the creation of your submission because it provides detailed criteria that will be used to evaluate your work. Each requirement below may be evaluated by more than one rubric aspect. The rubric aspect titles may contain hyperlinks to relevant portions of the course.
Tasks may not be submitted as cloud links, such as links to Google Docs, Google Slides, OneDrive, etc., unless specified in the task requirements. All other submissions must be file types that are uploaded and submitted as attachments (e.g., .docx, .pdf, .ppt).
Create a repository by doing the following:
Note: Screenshots should include the git response from the command prompt or the entire graph window.
Note: All operations should be performed on your local machine using Git Bash or another shell unless GitLab is specifically mentioned.
Note: You may commit and push at any time, even if a task is not complete.
Prepare Your Repository with Initial Data on GitLab
A. Create your subgroup and project in GitLab using the provided web link and the "GitLab How-To" web link by doing the following
1. Create a new branch named "Working" in GitLab.
2. Include a screenshot of your current repository graph in GitLab.
Clone Your Repository on Your Local Machine
B. Clone your remote repository from GitLab to your local machine using the command line interface. Include a screenshot of the command line action and be sure to have your repository name visible in the command prompt.
Make Changes, Commit, and Push
C. Modify (using any text editor) three HTML files on the Working branch by doing the following:
1. Commit each change with a short, meaningful message that explains all changes you have made to the three HTML files. Include a screenshot for each git command for each change and be sure to have your repository name visible in the command prompt.
2. Push the branch to GitLab. Include a screenshot of the command line action and be sure to have your repository name visible in the command prompt.
Create a New Branch and Make a Change
D. Modify a file on a new branch in your local repository by doing the following:
• create a "Test" branch using the command line interface
• add your student ID to the README.md file
• push the changes to the remote repository in GitLab
• include a screenshot of the command line action and be sure to have your repository name visible in the command prompt
1. Include a screenshot of the current repository graph in GitLab after pushing the changes.
Simulate a Merge Conflict
E. Introduce a merge conflict with the "Test" branch by doing the following:
• add the git version number to the README.md file on the Working branch
• merge the "Test" branch to the Working branch in your local repository
• include a screenshot that demonstrates the conflict of this merge command line action and be sure to have your repository name visible in the command prompt
1. Resolve the created conflict and push the changes to the Working branch in GitLab. Include a screenshot of the current repository graph in GitLab.
Tag a Branch
F. Specify a version for your local repository by doing the following:
• tag the Working branch as version V.1.0.0
• push the tag to GitLab
• include a screenshot of the command line action and be sure to have your repository name visible in the command prompt
1. Include a screenshot of the current repository graph in GitLab.
Add a Retrospective Directory to Repository
G. Add retrospective information by doing the following:
1. Create a directory on the Working branch named "retrospective".
2. Create a log.txt that will contain the output of the git log command in the retrospective directory.
Note: Use "git log > log.txt" to redirect output to the file.
3. Create a "summary.txt" file in the retrospective directory and include the following:
• summarize how the merge conflict in part E1 was resolved
• describe the three changes that you made in part C1
4. Create one file (PDF or Word document) that contains all screenshots and comments from parts A–F and place the file in the retrospective directory.
5. Push all changes made in parts G1–G4 to GitLab.
Final Step
H. Include the repository link to your GitLab in the "Comments to Evaluator" section when you submit this assessment.
I. Demonstrate professional communication in the content and presentation of your submission.
File Restrictions
File name may contain only letters, numbers, spaces, and these symbols: ! - _ . * ' ( )
File size limit: 200 MB
File types allowed: doc, docx, rtf, xls, xlsx, ppt, pptx, odt, pdf, csv, txt, qt, mov, mpg, avi, mp3, wav, mp4, wma, flv, asf, mpeg, wmv, m4v, svg, tif, tiff, jpeg, jpg, gif, png, zip, rar, tar, 7z
Access my gitlab repository:
Download Version Control detailed document - contains all screenshots and comments from parts A–F: